Getting Started
Once you launch the Expert software you will be given the options to create New Project or Open Project. Expert remembers the last five projects you have previously opened.
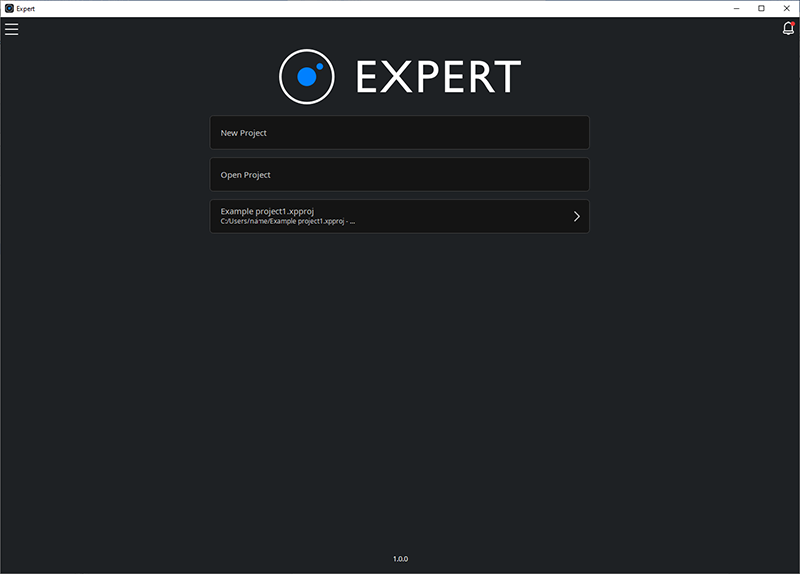
![]() Notification Icon – found in the top right corner of the software UI, alerts you to any updates and provides access to release notes.
Notification Icon – found in the top right corner of the software UI, alerts you to any updates and provides access to release notes.
New Project Helper
The Helper is designed to give a step-by-step guide to setting up your new project. You can navigate through the Helper by selecting Next or clicking the options on the left side navigation.
Selecting Create Project will create your project with any settings you have selected. First time users are strongly advised to take advantage of the new project helper.
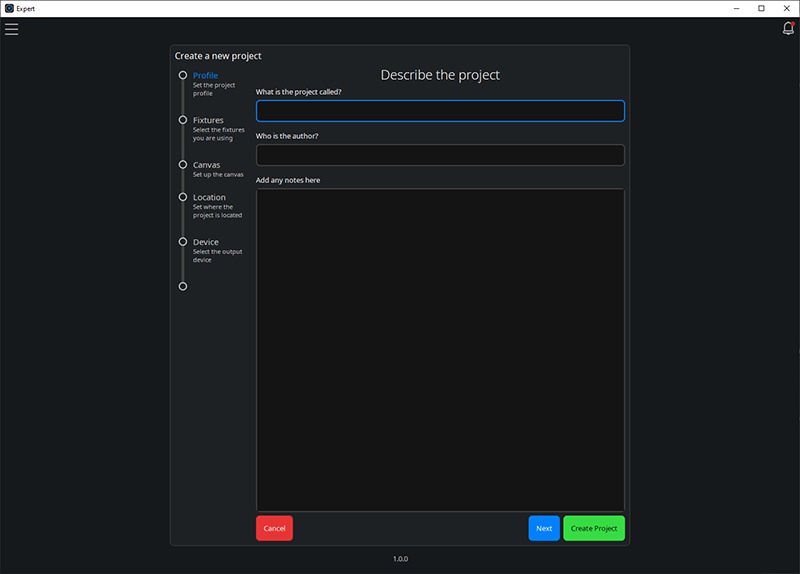
Profile – set the project profile. Add information appropriate to your project and any notes.
Fixtures – select the fixtures you are using. Libraries include generic, specific type and online options. Previously selected fixtures will be available as default options.
Canvas – set up the Canvas. These options allow you to set an accurate scale and add a background image for your project.
Location – set where the project is located. This is required for accurate time zone and local daylight savings settings, astronomical events - especially local sunrise and sunset, and the operation of some Tags.
Device – select the output device. The software will detect any Expert Control on the same network.
| NOTE: | The software and the device firmware need to be the same version and the controller must have a security option initialised. The New Project Helper assists with both. |
Programming a Project
Completing the New Project Helper will generate a new project in the software with any chosen settings applied.
| NOTE: | The New Project Helper does not name and save a file to your computer. Use Save Project as New in the main menu to select a location to save the file. |
First time users will be presented with a Walkthrough tour of the user interface to introduce the main areas for programming.
The Home tab offers many Suggestions which provide a helpful steer to new users as to what they may want to set up in their project with the Show me how… prompt opening the step-by-step walkthrough. These can also be accessed via the Walkthrough button in the Home tab. Right-clicking on the suggestions offer options to ignore and to mark as done.
There is no set workflow for how to program a project with Expert – users can add or edit essentially all aspects of Expert's programming at any time. The following guide gives a way of getting started assuming the new project helper above has been followed. Users are recommended to view the relevant ‘How to’ section from the menu above if more information is required.
-
Layout the project's fixtures - add fixtures to the canvas by selecting the fixture type from the add items menu and clicking to add a single fixture, or clicking and dragging to create an array.
-
Patch fixtures – select one or more fixtures on the canvas and drag them down into the patch view. Note that fixture selection order determines patch order.
-
Add Scenes – select a Scene type to add and set its programming parameters after being added to the project. Multiple Scenes can be added to a project which can be switched between during playback.
-
Add spaces – Expert projects can simply use the single Project Space to contain all project items, but when finer control of different groups of fixtures is required, spaces can be added.
-
Set a Schedule – in the Control tab select the ‘Configure Schedule’ option to add new scheduled items. Most projects will schedule Scenes, but tag changes can also be scheduled here too.
-
Adjust tags – the ‘Configure Tags’ option also in the Control tab can be used to edit the starting tag set and add additional tags. Tags are intended for use cases where detailed conditional logic is needed to achieve the correct lighting output at a given moment, which is not possible to be programmed in the Schedule.
-
Tag Scenes – where tags have been configured, they must be applied to Scenes to adjust lighting playback when a given tag is active. Scenes can be tagged once or multiple times and for a Scene to be activated, all matching tags must be active.
-
Configure touch devices – projects using an Expert Touch or the Expert Touch mobile app will need to add a touch device to the canvas from the add items menu and follow the helper to configure the theme for that device.
-
Simulate the project – with all programming in place, simulation can be started by clicking the play icon. Simulation happens in real time and the current simulated time can be adjusted. Touch devices can be simulated by selecting them on the canvas and pressing the play button in the property editor.
-
Upload the project – with an Expert Control associated in the New Project Helper, upload a project to a controller with the upload button
 at the top right of the tool bar. If a controller has not been associated or needs to have settings adjusted, this can be done in the Network tab by selecting the controller and following prompts in the property editor.