Working with Canvas
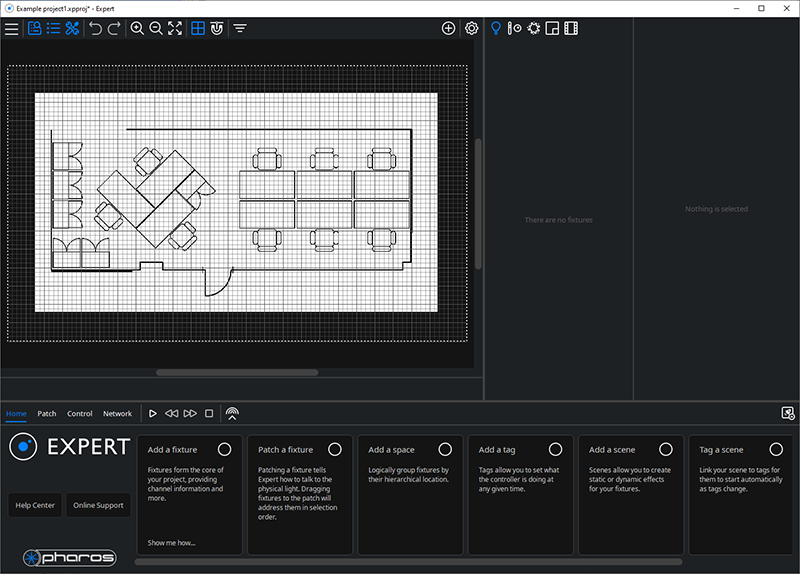
The Canvas is the visual core part of your project and contains all items in the project including fixtures, spaces and Scenes.
To set up the Canvas for your project you can Configure the canvas as part of the New Project Helper or by clicking Configure Canvas![]() in the canvas window.
in the canvas window.
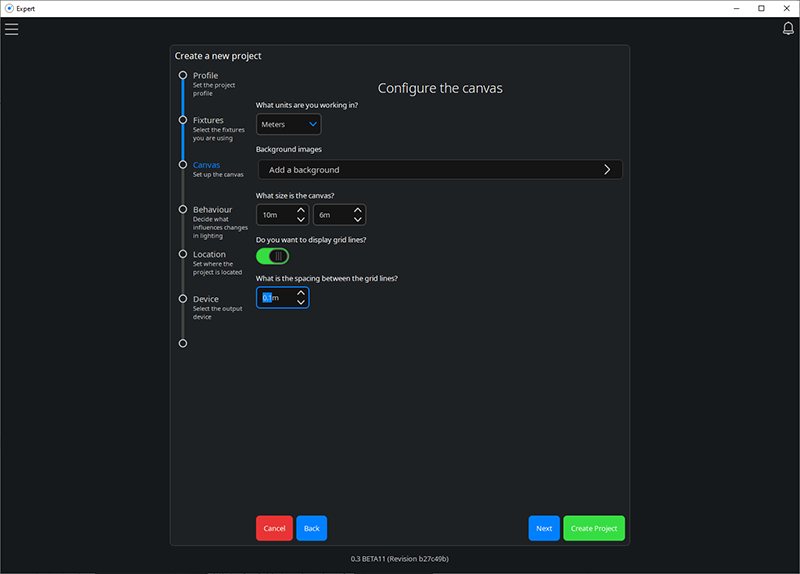
What units are you working in? – enables you to select your preferred unit scale so that you can accurately scale your project.
| NOTE: | If the scale is set to None then you will not be able to accurately scale your background image. |
What size is the canvas? – depending on the units you have selected, you can customise the size of the canvas to fit your project's requirements. For example, this could be the size of several office spaces in a building.
Do you want to display grid lines? – this will toggle the grid lines on and off.
What is the spacing between the grid lines? – This option allows you to set the spacing between the grid lines, for example, 0.1m on a meter unit dimension.
Background images – here you can select an image you would like to use for your project, for example, this could be a scale layout of the interior of a building. Click Add a background![]() , then Select an image by browsing for your file. Once you have selected your file, click the Next button. You can add more than one image to the canvas.
, then Select an image by browsing for your file. Once you have selected your file, click the Next button. You can add more than one image to the canvas.
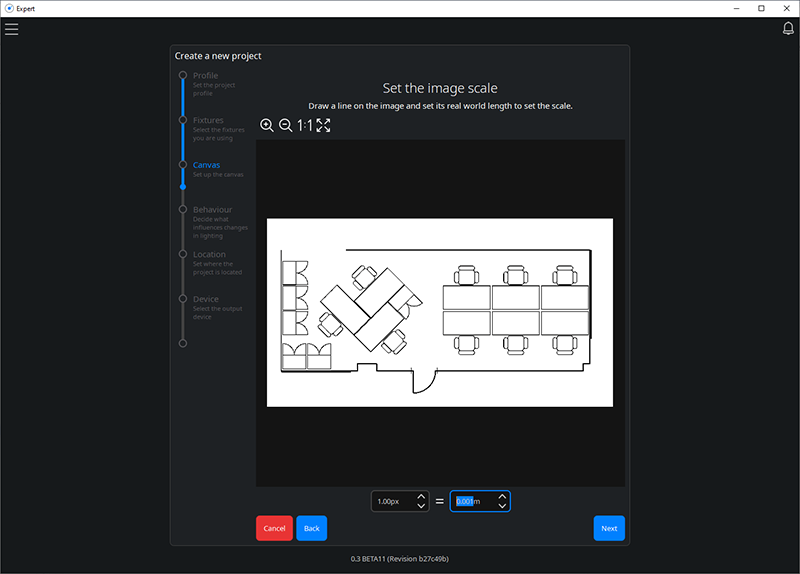
Set the image scale – Click and drag to draw a line on the image and enter its real-world length to set the scale, this will allow you to give the selected pixels a unit scale for your background image, for example, if you know the dimension of part of your image then use it to scale the image. The Tools allow you to Zoom In, Zoom Out, Zoom Actual and Zoom To Fit which allows you set up your background image as required. At the bottom of the window you can see the scale set by dragging a line or you can set the required scale manually. Once you have selected your scale, click the Next button.
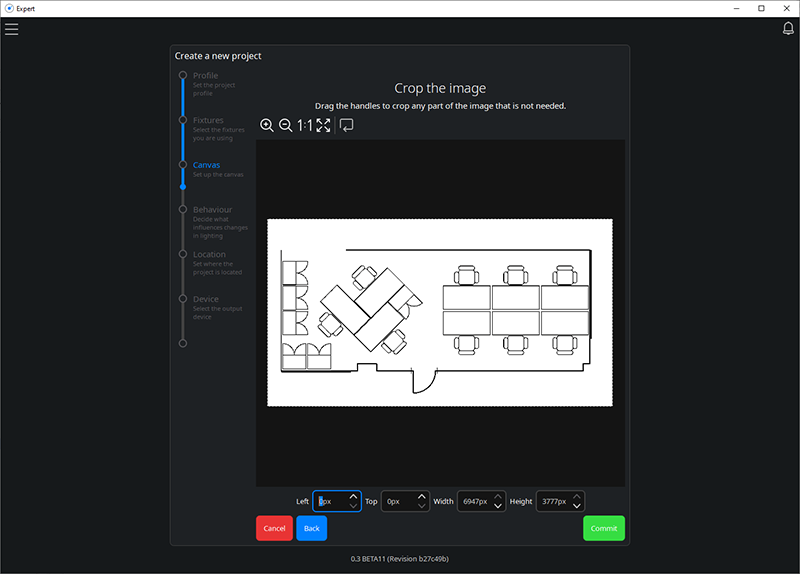
Crop the image – Drag the handles to crop any part of the image that is not needed. You can also drag a rectangle shape over the desired area. The Tools allow you to Zoom In, Zoom Out, Zoom Actual, Zoom To Fit and Reset to image size which allows you set the position of the background image as required. At the bottom of the window, you can see the X, Y, Width and Height of the background image in relation to the Canvas which can be adjusted manually as required. Once you have selected your scale, click the Commit button.
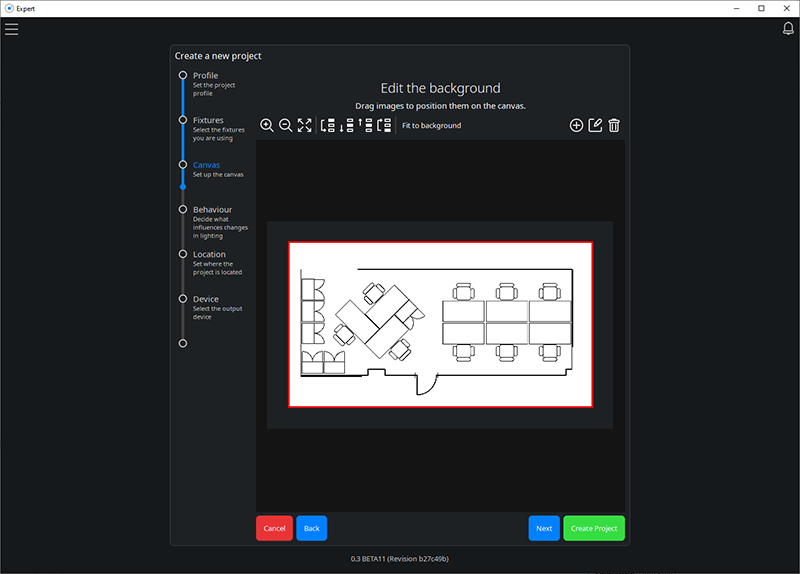
Edit the background – Click and drag images to position them on the canvas, represented by the lighter grey area. The Tools allow you to Zoom In, Zoom Out, Zoom To Fit, Send the selected images to the back, Lower the selected images, Raise the selected images, Bring the selected images to the front, and Fit to background (your image maybe smaller than the canvas size when trying to fit it to the background).
Additionally, you can Add a background image if you require further images for your project, and you can Edit the selected image or Delete the selected images. Once you have edited your background images, click the Next button or Create Project button.
Create Project – Once you have selected the settings required for your project these will be displayed in the Canvas window of the user interface.