The theme editor facilitates the creation and editing of custom TPC themeGoverns the appearance of controls and page switchers, and contains page background images and page icons. Will have multiple 'states' to change the appearance of controls in order to show feedback to the user.s. It allows you to add and edit background images, icons and item states.
Click ![]() on the toolbar to launch the theme editor.
on the toolbar to launch the theme editor.
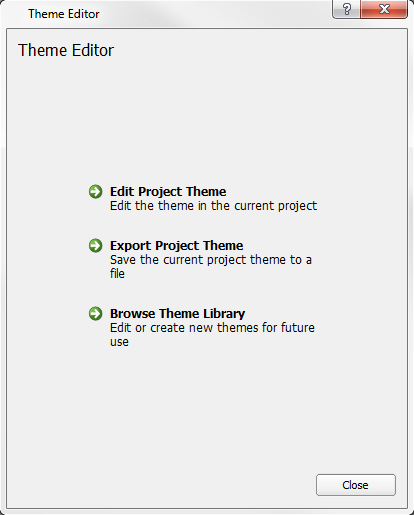
When the theme editor launches, it will display a page of options. Here you can choose to edit the theme in the current project, save the current project theme to a file or edit and create a new theme for future use.
The theme editor has three tabs for editing different aspects of a theme.
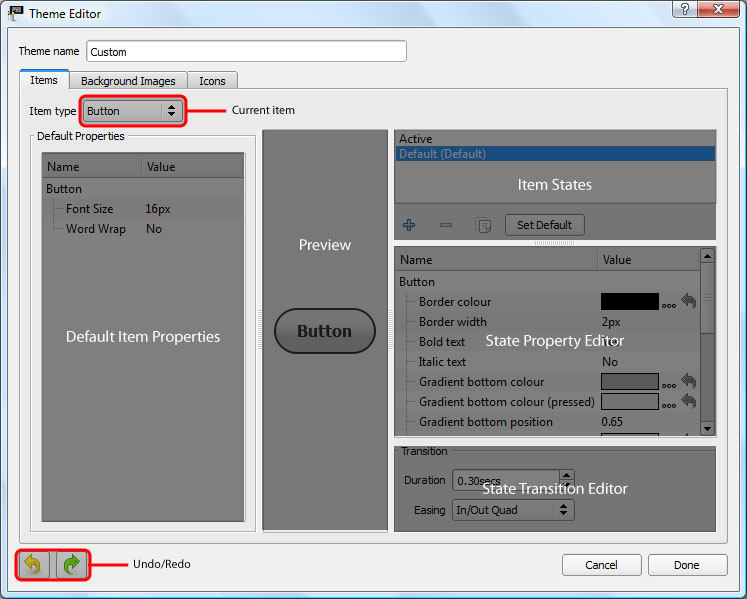
Default Item Properties - these set default values for certain properties that will be applied to an item when it's created for the first time. These properties can usually be edited in the main property editor of Interface Editor.
Item States - Select a state to edit its properties. The default state is shown with "(Default)" after its name. Double-click a state (Windows) or press the Enter key (OS X) to rename the selected state. Click ![]() to add a new state. Click
to add a new state. Click ![]() to delete a state (not possible for the default state). Click
to delete a state (not possible for the default state). Click ![]() to duplicate a state. The state of an item can be changed using a trigger action in Designer - see the
to duplicate a state. The state of an item can be changed using a trigger action in Designer - see the
State Property Editor - Edit the properties of the selected state. Works in the same way as the main Interface Editor property editor.
State Transition Editor - Edit the transition that is applied to the item properties when the current state is applied to the item. Easing is the curve that property values will follow.
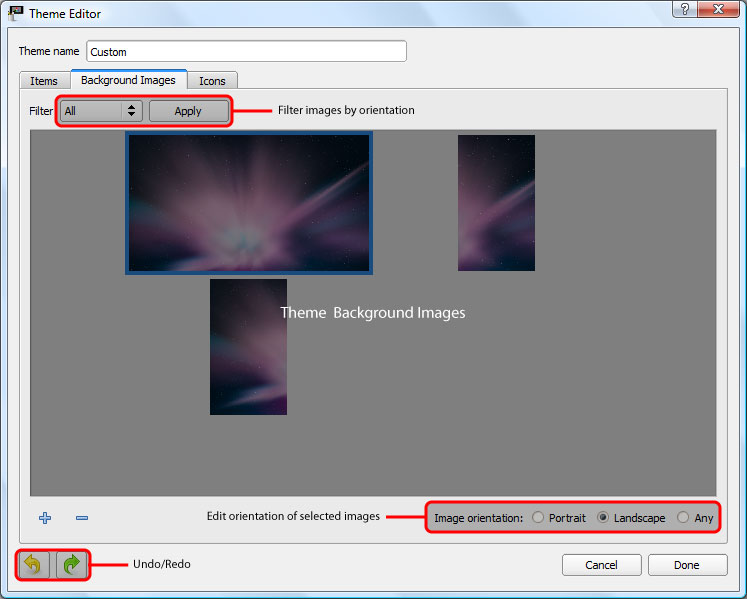
Click ![]() to add a new background image from a file. Click
to add a new background image from a file. Click ![]() to remove the currently selected images from the theme. The image files will not be deleted.
to remove the currently selected images from the theme. The image files will not be deleted.
You can set the orientation of images so that they are only offered as backgrounds for projects of the same orientation. If the image isn't specific to an orientation, for example if it's meant for tiling or centering on the screen, then set its orientation to 'Any'. You may filter which images are shown using the drop down near the top of the window.
![]()
Click ![]() to add a new icon from a file. Click
to add a new icon from a file. Click ![]() to remove the currently selected icons from the theme. The image files will not be deleted.
to remove the currently selected icons from the theme. The image files will not be deleted.
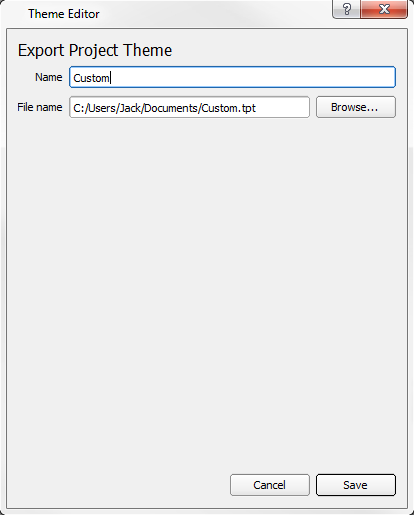
In the launch window for theme editor there is a option to export the theme in the current project. This is useful for using the same theme on different projects.
To export a theme you will have to provide a file name as well as a directory for the theme to be saved to.
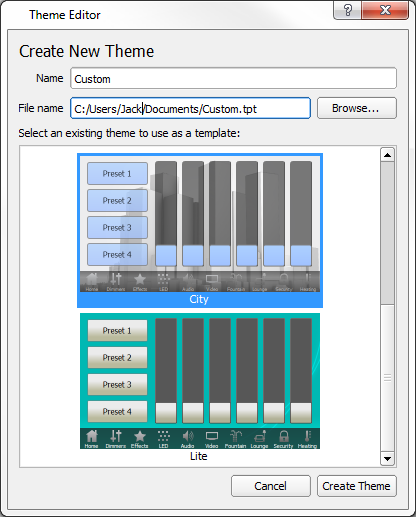
To create a new theme you will need to select to Browse Theme Library from the launch window. Click on the ![]() at the top of the window to create a new theme. You'll need to give the new theme a file name and choose a file path. You'll also need to choose a theme to use as a template.
at the top of the window to create a new theme. You'll need to give the new theme a file name and choose a file path. You'll also need to choose a theme to use as a template.
You will now see the Theme Editor where you can edit item states in the new theme.
Click Done when you've finished editing the theme and your changes will be saved to the theme file. If you're creating a new theme, the theme will now be shown in the theme browser and offered when you create a new project.