Working with Control
The Control tab is where you manage when and how your programmed lighting Scenes playback automatically. Expert Control will determine the lighting State for each Space, based on local time, events in Schedule and Tags.
Control also gives you Simulation tools to view programmed Scenes on the Canvas.
Configuration Helpers
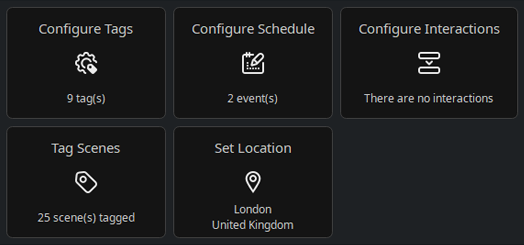
These links open the helpers for creating, managing, and setting up Tags, (for details see Working with Tags), Schedule (for details see Working with Schedule) and setting the global location of the installation for local time, daylight saving settings and accurate sunrise/set timings (for details see below). There is also a helper to configure interactions (for details see Working with Interactions).
Simulate
Simulation is against real time, so users can make sure scheduled changes play back as expected. Simulation speed can be increased to let users see a whole day's simulation in seconds.
![]() Play/Pause, Jump forward, and Stop controls.
Play/Pause, Jump forward, and Stop controls.
![]() Live Output to fixtures (if connected to Expert Control and the same project has been patched and uploaded).
Live Output to fixtures (if connected to Expert Control and the same project has been patched and uploaded).
![]() Real time clock to Simulate actual events in real time, the playback rate can be sped up from 1x, to 10x, 30x, 60x, 120x, 240x, 480x, 900x, 1800x, and 3600x. Reset
Real time clock to Simulate actual events in real time, the playback rate can be sped up from 1x, to 10x, 30x, 60x, 120x, 240x, 480x, 900x, 1800x, and 3600x. Reset![]() returns the simulation rate back to 1x playback.
returns the simulation rate back to 1x playback.
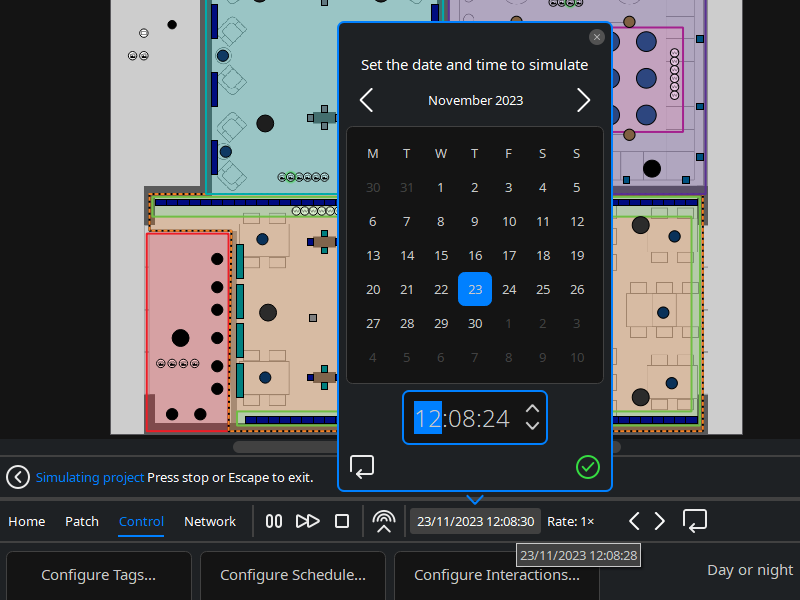
Any date and time can be set and tested. Reset![]() sets the clock simulated to the current date and time of your computer.
sets the clock simulated to the current date and time of your computer.
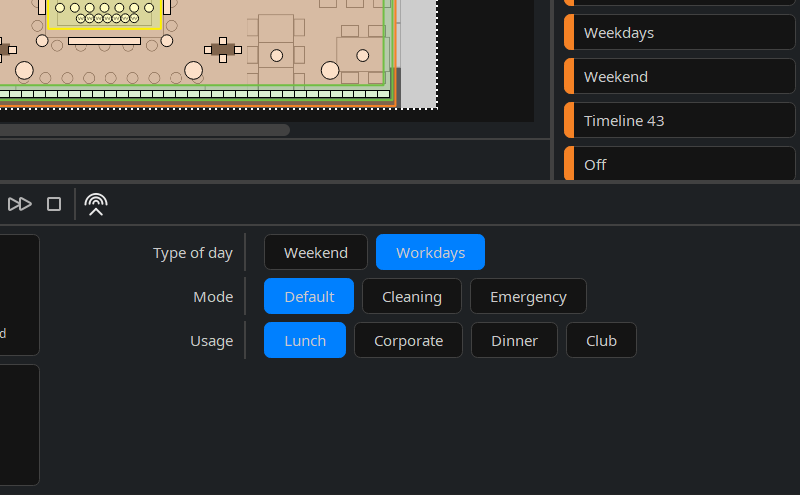
Tags default to the real time simulation clock and change when their behaviour conditions are met. Tags can also be activated to test how the lighting will be affected by these different behaviours and to test that the correct tag combinations achieve the desired state.
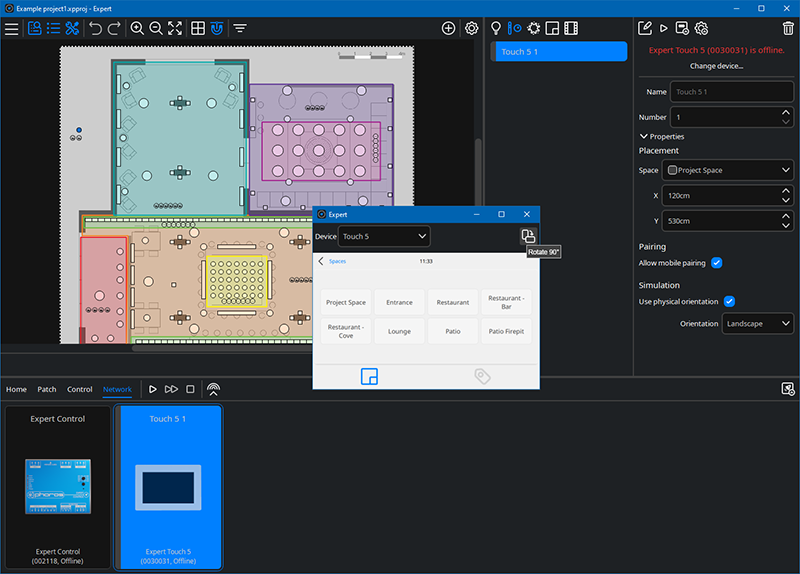
Touch Device Preview
Right-click or double-click a touch device on the canvas to open a given device's interface preview. Explore how the chosen theme, pages and settings will be displayed and use the interface to activate Scenes directly along with any other controls to see how manually starting Scenes in a project effects playback. Project simulation must already be running on the canvas for lighting changes from the interface preview to be simulated.
Depending on a device’s properties, it is possible to simulate devices with different display sizes using the Device dropdown menu. Device orientation can be changed using the Rotate 90° button. For more information see Preview Interface in section Working with Touch Interfaces.
Set Location
The location of the installation can be added by selecting the Set Location option found in the Control tab. It is important to add the project location for accurate operation of some tag sets and astronomical based events.
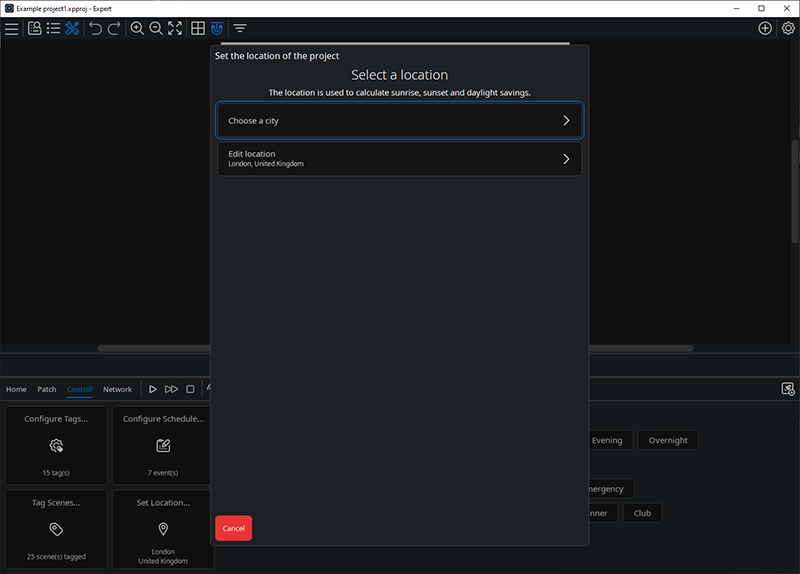
Set a location – The location is used to calculate local sunrise, sunset, time zone and daylight savings if applicable.
-
Choose a city – select the nearest city from the worldwide list. This will automatically populate the details for the location.
-
Edit location – manually set or adjust details for the installation’s location. (If latitude and longitude adjustments no longer match the location of a previously selected city, the city name will no longer appear).
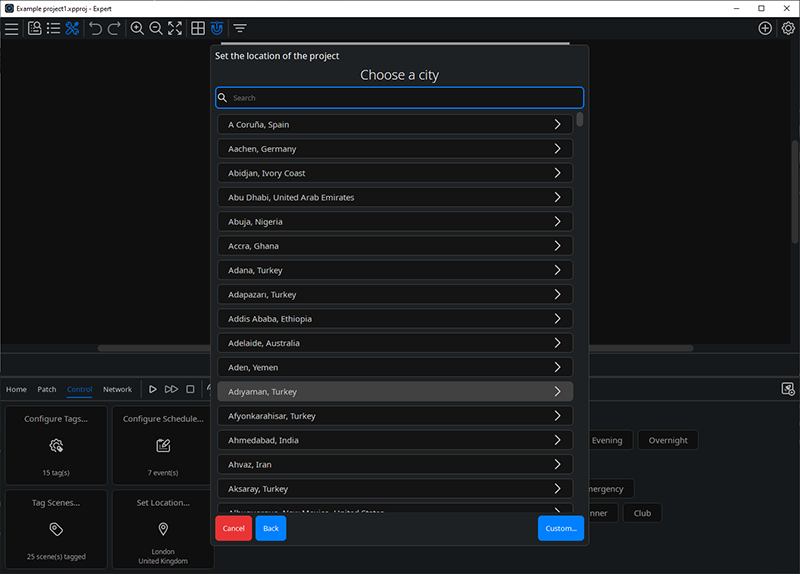
Choose a city – select the city your project is located in – or near – by scrolling down the list or start typing in the Search to filter the list. It is still worth selecting a nearby city even if the exact location is not in the list, as that will provide daylight savings and time zone settings for that region.
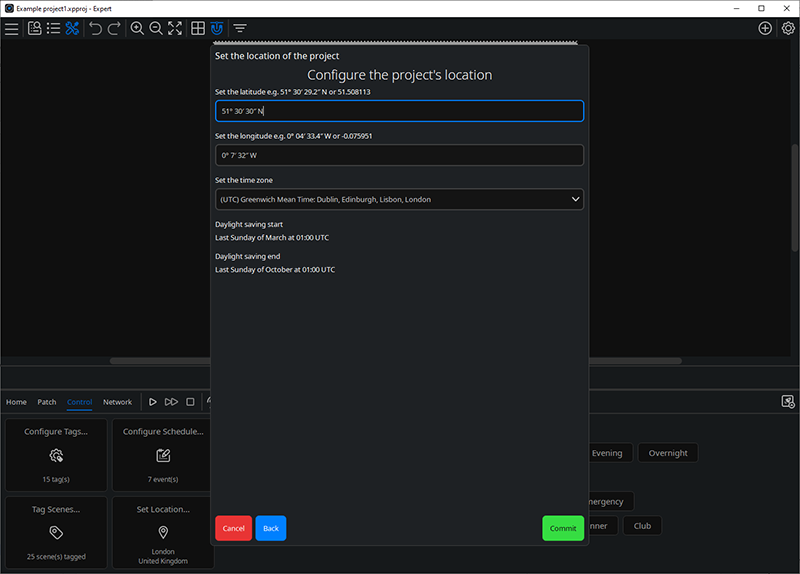
Edit location – Configure the project’s location. Using this option will enable you to Set the latitude e.g. 51°30’29.2”N or 51.508113, Set the longitude e.g. 0°04’33.4”W or -0.075951, and Set the time zone. These options allow you to set the location more accurately if a city location is not appropriate for your project.