Managing devices#
A device is added to a site in one of three ways: from Cloud, using the device's own web interface to complete the handshake; from Pharos Designer; or from Pharos Express.
All three routes need the same two things:
- Devices running the minimum firmware - see Supported devices for the current baseline per family.
- An outgoing internet connection on each device's Ethernet port. If your network restricts outbound access, see Network requirements.
Pick whichever route suits you - the result is the same.
Adding a device from Cloud#
This method requires access to the device's local web interface.
-
On the site's Devices tab, select Add device on the right of the screen.

-
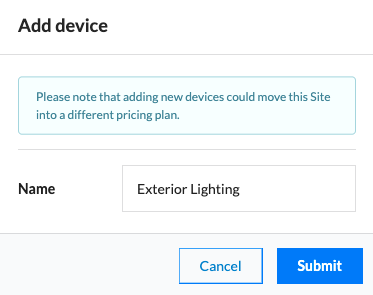
Enter a name for the device. It does not have to match the device name set in Designer, though it usually makes sense for it to.
-
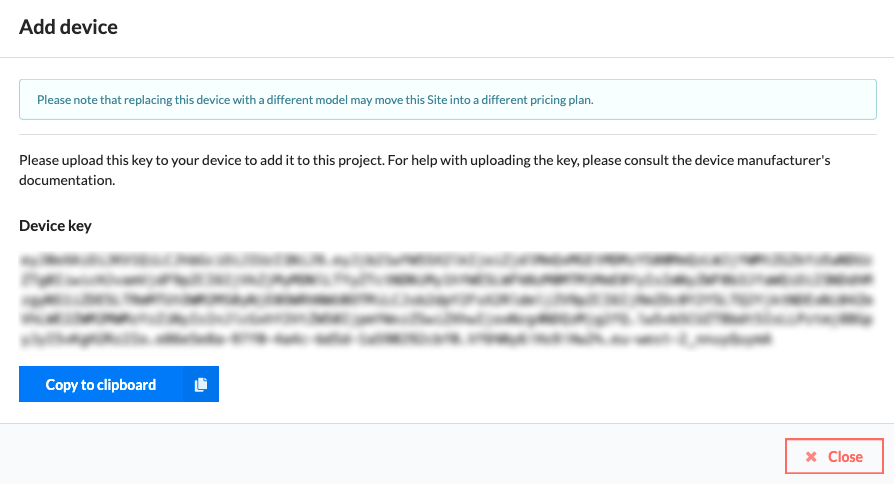
A device key is generated. Select it to copy.
Note
Keys are valid for seven days from creation. Cloud rejects an older key and the device will not connect. To generate a fresh key for a device, follow Replacing a device.
-
Open the device's own web interface and select Connect under Cloud on the Home page.

-
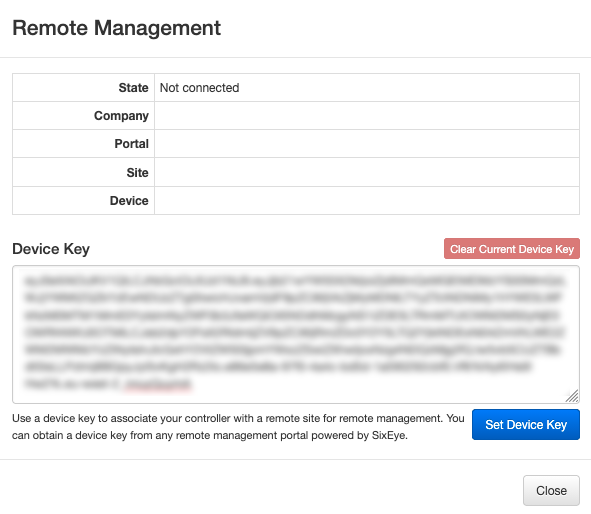
Paste the key into the box and select Set Device Key.
-
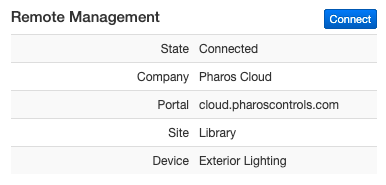
The status changes to Connecting, then Connected. Provisioning can take a few minutes. When completed, the web interface will update with site-related information.
-
The device now shows as Online on the site's Devices tab.

Adding a device from Designer#
Devices can be added to a Cloud site from the Designer software using built-in integration.
Show the steps
-
Enable the Cloud feature in project Features.

-
Near the top of the Project Properties tab, select the Cloud site option to Choose site….

-
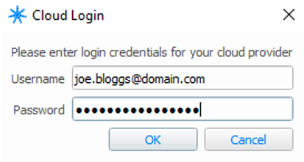
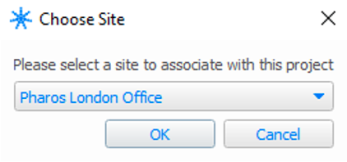
Enter your Cloud credentials, then choose your site from the list.
-
In Network view, the Status column shows each device's Cloud state:
Icon Meaning Solid blue cloud Associated and active in your Cloud site Hollow cloud Previously associated, not currently active Greyed out devices exist in the site but you are not signed in 
To sign back in, select the hollow cloud icon beside the issues icon. A solid icon means you are signed in.


-
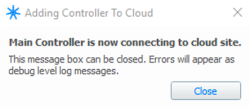
Select Add device to Cloud at the bottom of the device Properties tab in Network view. The connection status dialog appears.
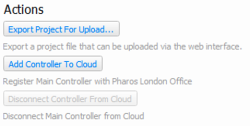
If the button is disabled, either the device has an incorrect network setting - the issues dialog will say which - or it already exists in the Cloud site. In the second case you can upload to it, or use Disconnect device from Cloud if it belongs to a different site.
-
Once the device has been added, Add device to Cloud becomes disabled and the device shows as Online in Cloud.
Adding a device from Express#
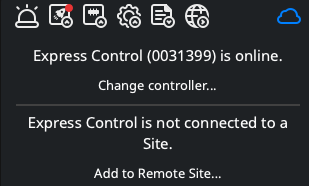
Express uses the Configure Cloud helper, reached from the Cloud icon in device Properties.
Show the steps
-
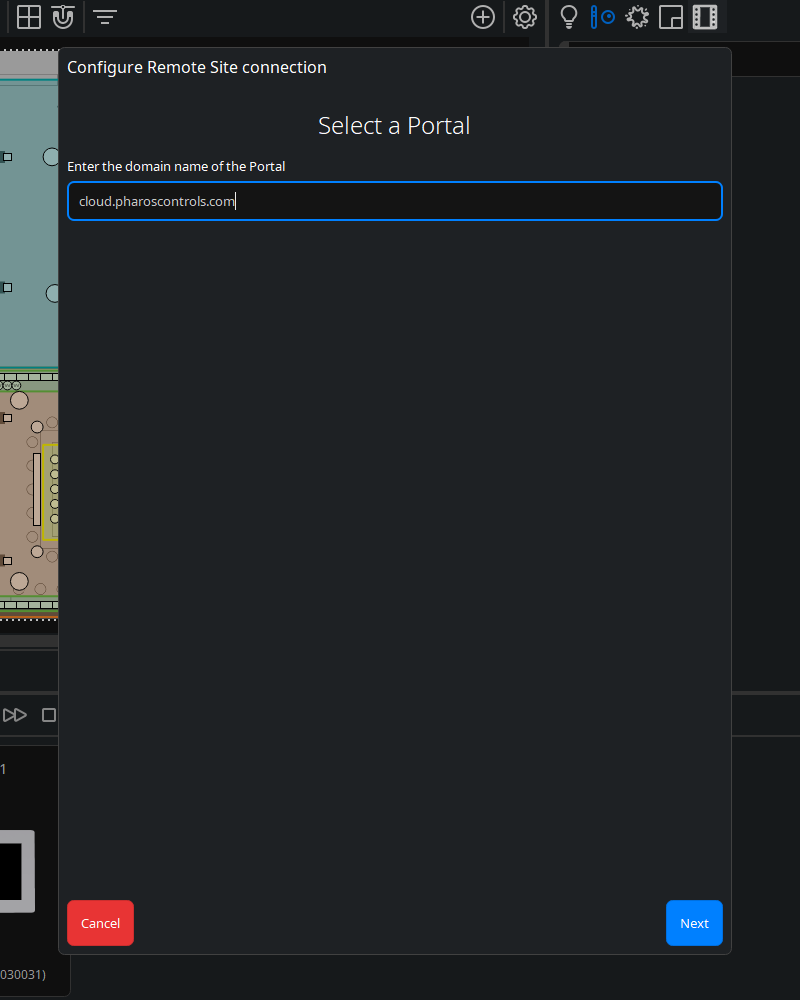
Open the Configure Cloud helper and enter your Cloud URL. A valid URL is required to continue.
-
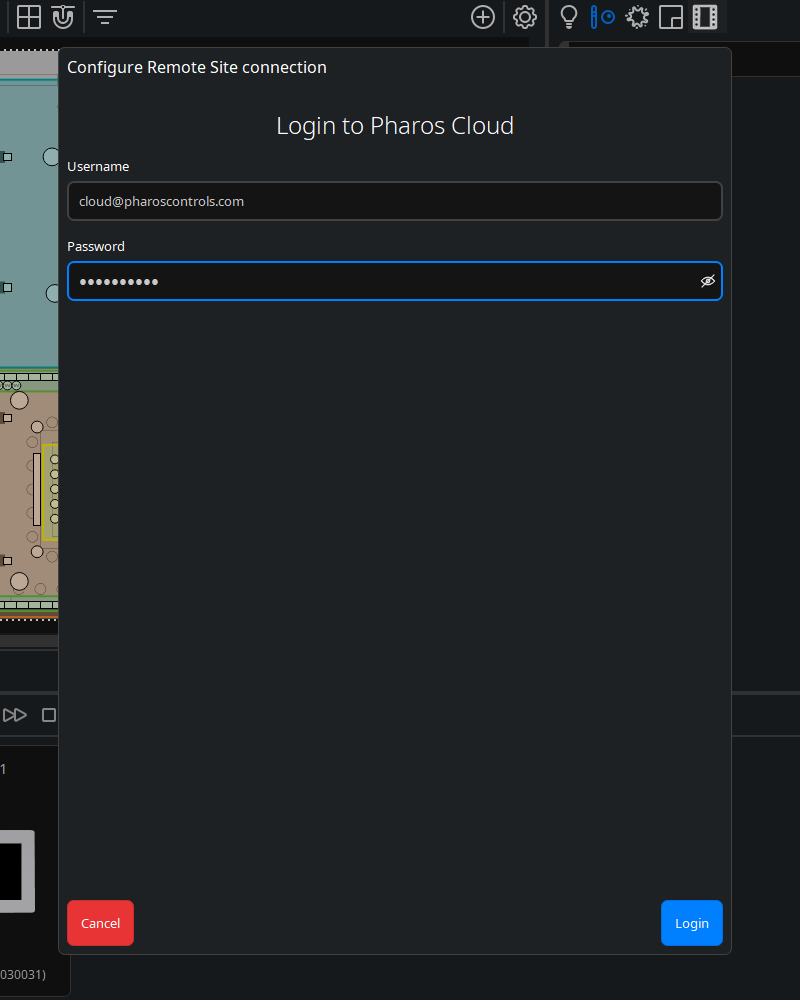
Enter your username and password. If the account has two-factor authentication enabled, you are prompted for a code - see Signing in.
-
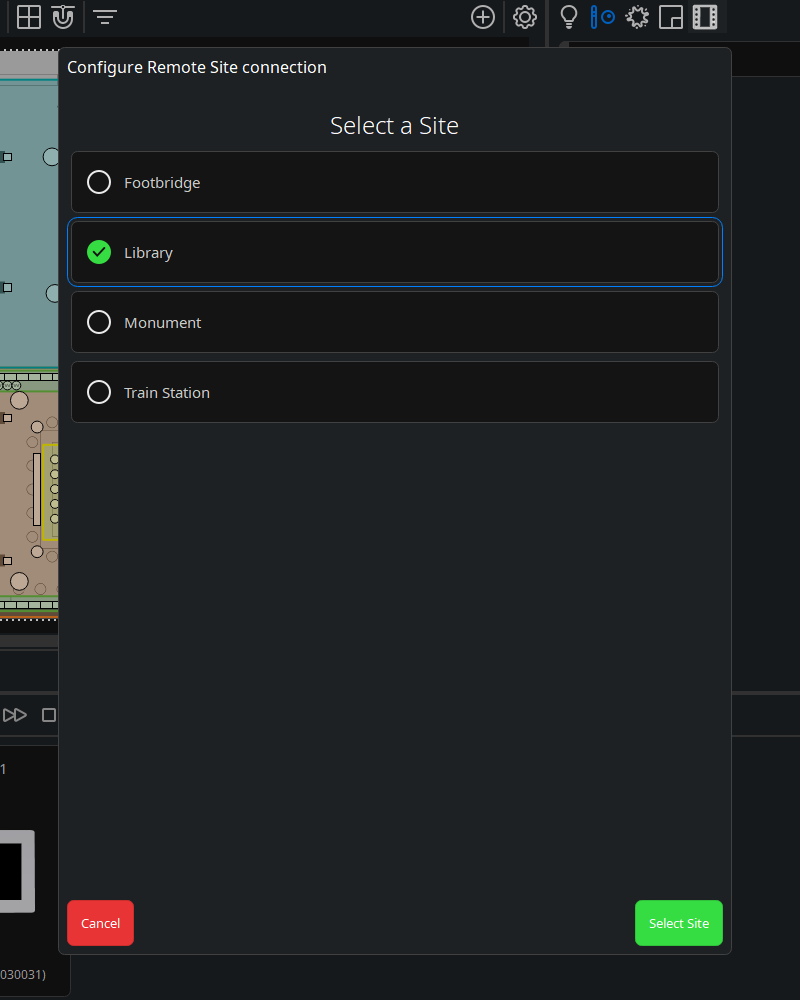
Choose your site from the list of those available to you.
-
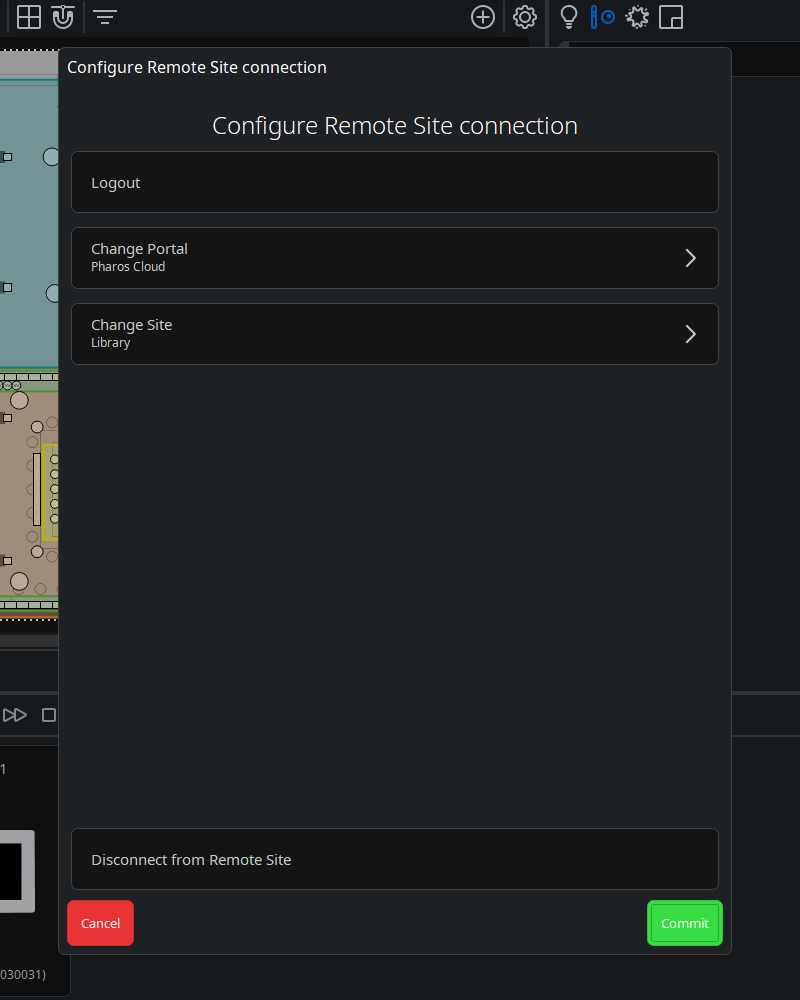
The helper summarises the changes it will make. Commit them to save the configuration into the project.
-
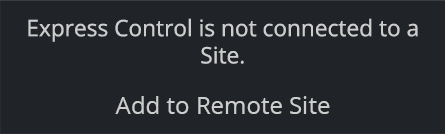
The device reports whether it is already connected to the site. If it is not, device Properties offers a single-click option to add it - supply a name for the device as it will appear in the site.
Note
This only works if the account you signed in with holds the permission to add a device to that site. See User permissions.
-
The device then reports that it is connected. If the device is already online in a different site, Express says so rather than moving it.

Once connected, you can see the device's status directly in Express and upload project files to it remotely. When uploading, a toggle controls whether the file transfers to the device immediately or only lands in Cloud.
Note
Express remembers some of these details to make later sign-ins quicker, but you have to sign in again each time you open Express or open a project.
Device status in Cloud#
| Status | Meaning |
|---|---|
| Online | Communicating with the Cloud service |
| Offline | Not communicating with the Cloud service |
| Unassociated | Has not yet connected, or has been moved to a different site |
| Online - upgrade required | Connected, but firmware is below the minimum required |
| Upgrade required | Offline, and the last cached firmware was below the minimum |
For more on supported firmware, please see Supported devices.
Replacing a device#
Replacing keeps the site entry and swaps the hardware behind it.
- Select the device using the circle to the left of its name in the device table.
- Select Replace from the options for the given device.
- Copy the device key to the new device and paste it in, the same way as when adding a device.
The device name is retained. Everything else the old device reported is discarded and replaced by the new device's information.
Important
Settings related to the device are retained where possible, but if the device type has changed, tasks and actions associated with it may become invalid. Check the Tasks tab for conflicts afterwards.
Removing a device#
- Select an offline device using the circle to the left of its name.
- Select Remove from the options for the given device.
The device is removed from the site and stops trying to connect to it.